How To Prepare Varnished Wood Banisters For Painting Easily
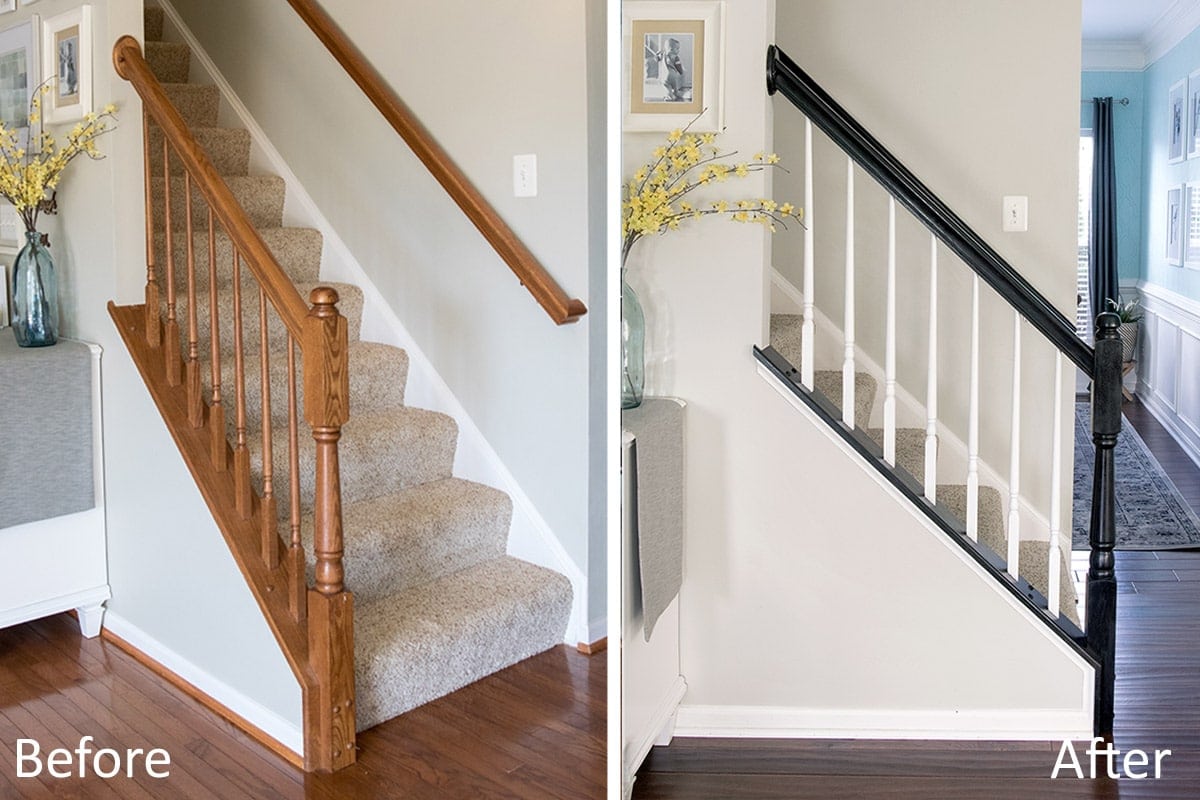
How To Paint Stair Railings That Last Craving Some Creativity

Balustrade Painting How To Paint Existing Timber Stained Balustrade

How To Paint Spindles With Pictures Wikihow

How To Paint Stain Wood Stair Railings Oak Banisters Spindles Without Sanding
How To Paint Stair Railings That Last Craving Some Creativity

How To Paint Stair Spindles The Easy Way

Use sandpaper If you plan on removing the varnish and then painting the wood sanding can be an effective way to get rid of the varnish while prepping the wood at the same time.
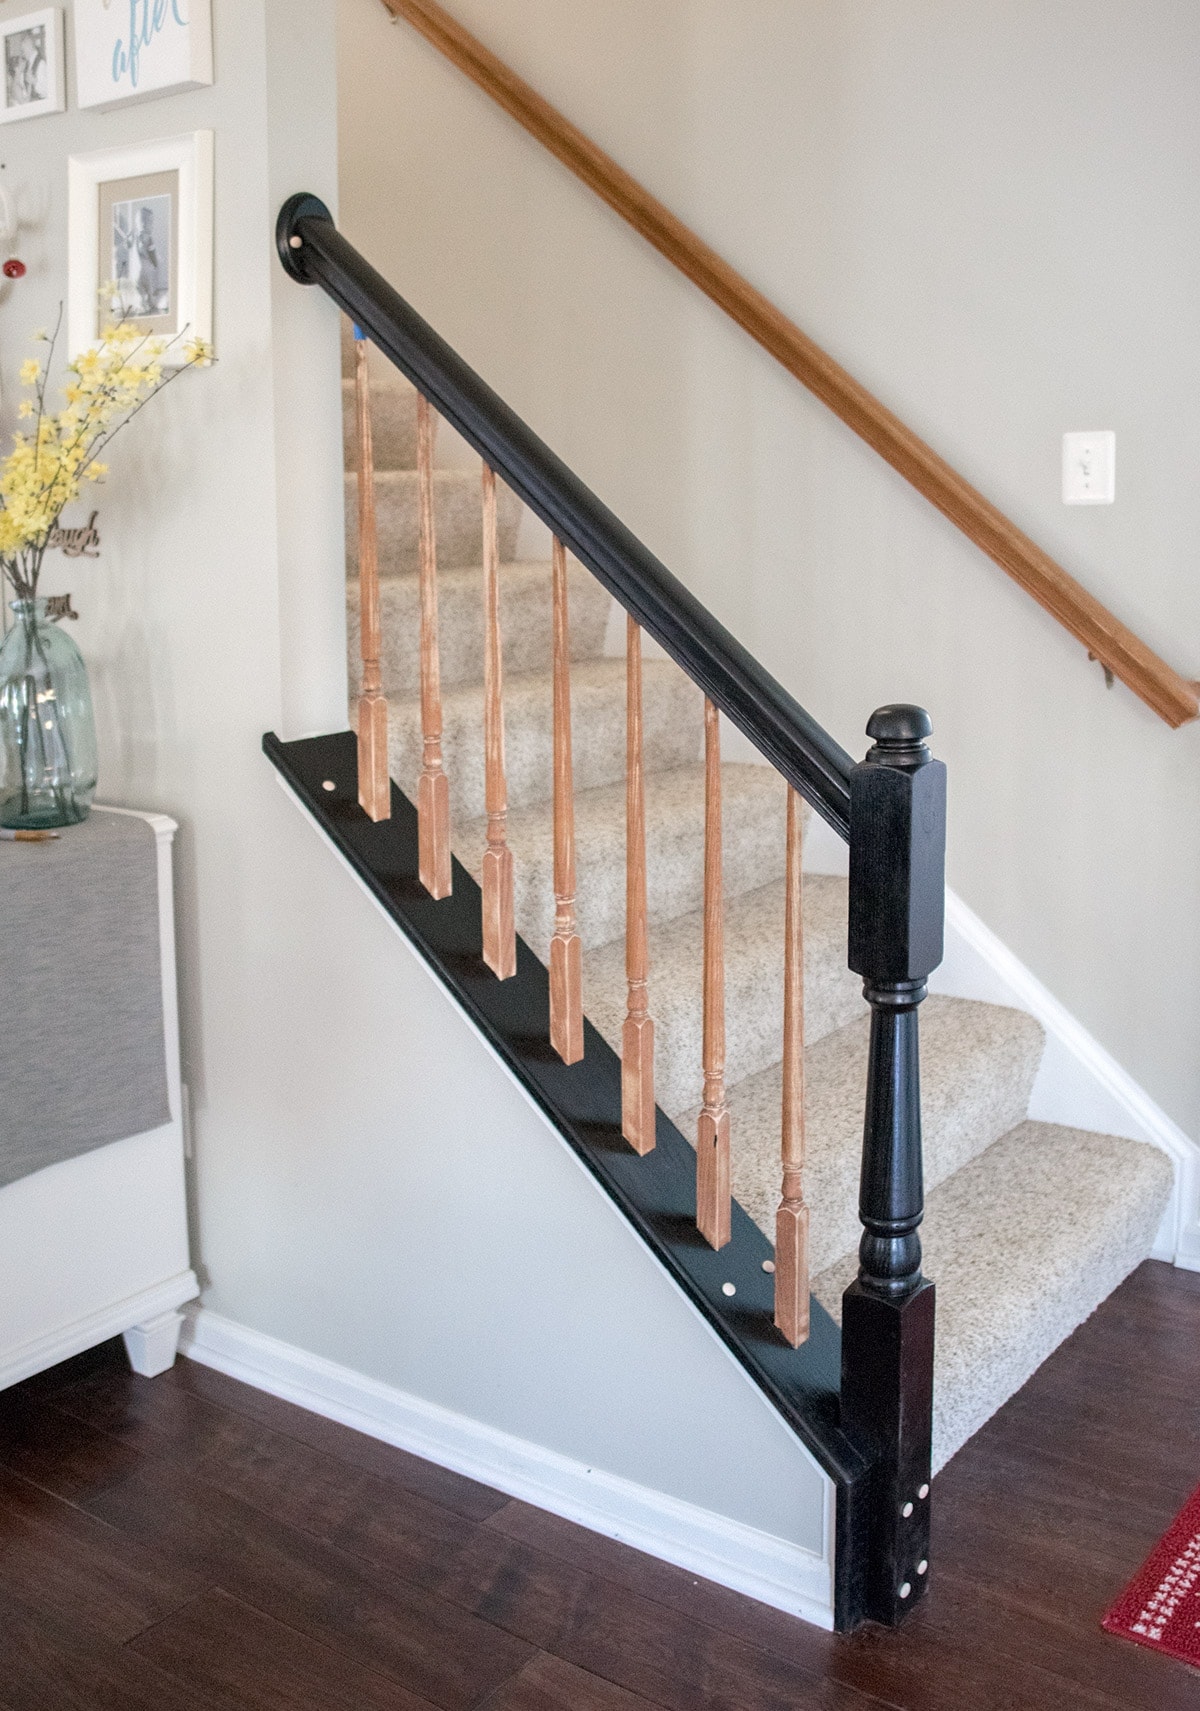
How to prepare varnished wood banisters for painting easily. 3Lightly sand the surface with a fine grade sandpaper until all the glossy surface of the varnish has been removed from the surface. Remove all sanding dust. You can see that I had to try to push my carpet down and get the painters tape under the edge of the banisters base.
If the spindles are already in place on the balustrade work your way down from the top of the staircase working your brush into the grain of the wood. Leave to dry for 68 hours before applying a second coat. Use a flexible putty knife for flat areas and use your fingers to fill gaps and holes on curved or rounded parts of the banister.
If its very grimy or you suspect its been waxed or oiled use a grease-cutting detergent such as trisodium phosphate to remove surface oils. You can use latex or oil-based paint. This helps the paint bond more tightly and lasts longer.
This is just to rough it up a little. Lightly sand the oak banister and handrail with the 220. You can also use a wet wash cloth if you dont have tack cloth STEP 3 Priming 2 coats 15 hours Even though the paint that I used has comes with primer.
Priming also helps the paint. But the easiest way to remove that shiny top coat of lacquer or varnish is to rough it up with some sandpaper. If you need to apply a second coat of.
Remove all dustRemove all visible signs of organic growth and treat the areas with Zinsser Mould Killer in accordance with the manufacturers instructions. Simple let the first coat dry for about four hours and repeat 2-3 more times. We recommend applying at least three coats of paint to ensure maximum coverage and protection.

How To Change A Wood Stained Staircase To White Gloss The Finished Look Youtube
.JPG)
Painters Dublin How To Paint Banisters

How To Paint Stair Spindles The Easy Way

How To Paint Stair Spindles The Easy Way

Tips For Painting Stair Balusters Honeybear Lane
.JPG)
Painters Dublin How To Paint Banisters
.JPG)
Painters Dublin How To Paint Banisters

How To Paint Stain Wood Stair Railings Oak Banisters Spindles Without Sanding

How To Paint Stair Spindles The Easy Way

Oak Banister Makeover With Paint Stain Creations By Kara

How To Paint Stair Spindles The Easy Way

Tips For Painting Stair Balusters Honeybear Lane

How To Paint Stair Spindles The Easy Way
