How To Carve Candles At Home

Hand Carved Candle Turquoise And White Double Bow Carve 7 Inch Hand Carved Candles Candle Carving Candles

Candle Carving For Beginners An Easy To Follow Tutorial Candle Carving Candles Carving

Diy Curvy Candles An Immersive Guide By Romper
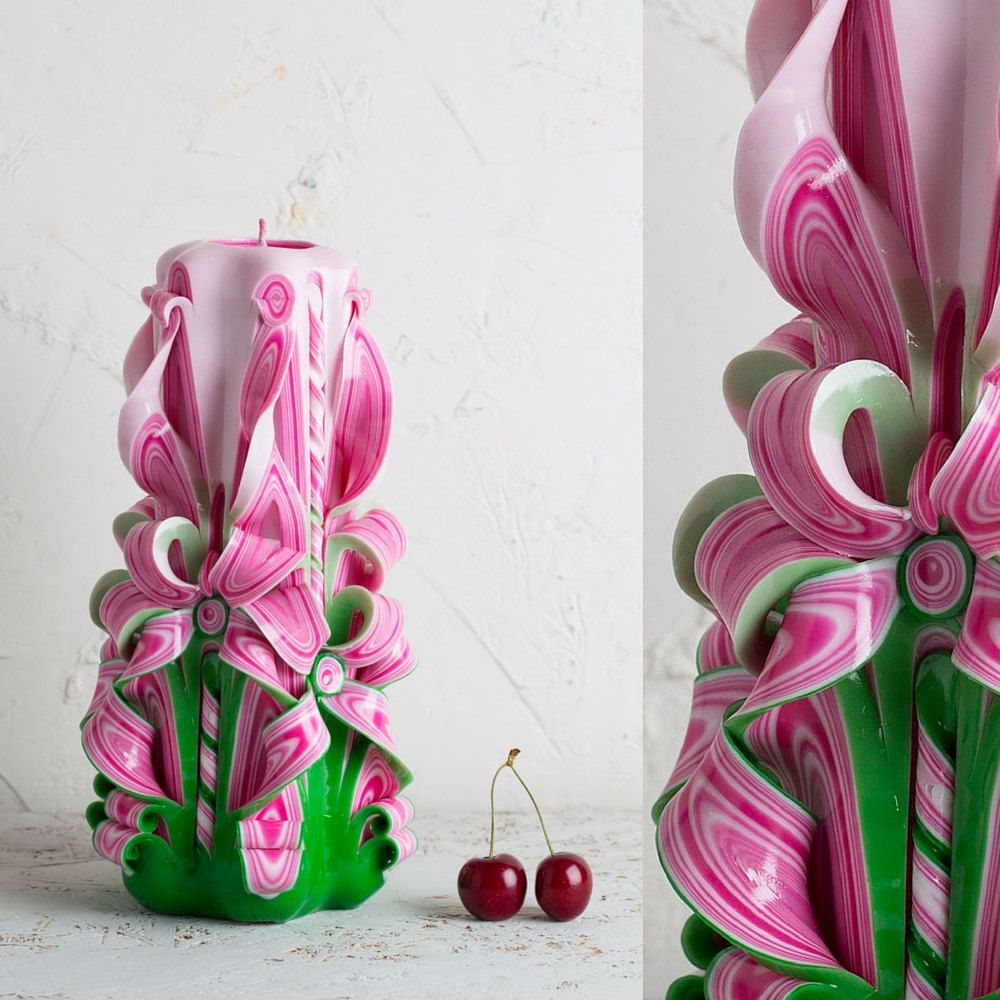
Make Your Own Candles Carved Candles Gift Idea For Her Gift Etsy Hand Carved Candles Candle Carving Pink Candles

Hand Carved Candle Yellow Pink And White Straight Carve 7 Inch Candle Carving Hand Carved Candles Candles

Yellow Carved Candle For Christmas Mantel Christmas Etsy Candle Carving Hand Carved Candles Handmade Candles

The candles you carve will be treasured for their permanent beauty because they burn candle oil and not the wax of the candle itself.
How to carve candles at home. Then add dye when each is fully melted. Warm up the base of the candle using a pan or hot water and then rapidly spin the candle to level the base. Pick the instrument based on how deep you want the engraving and the width of the lines that you want.
The hook is for holding up the candle when dipping Candle dyes of various colours Bowl of cold water Carving and cutting tools How to Make Carved Candles Melting the Wax Melt the paraffin wax. The carved candles are truly a permanent collectible lifetime unique product of your own. Place this smaller container inside the larger pot creating a makeshift double boiler.
They show you how to shave strips up the side of the candle carefully twist them into vertical spirals and reattach them at the bottom near the base. How to Melt Wax Candle Making Techniques. Once the candle is cooled dip it into another vat.
Finally you want to dip the candle in a glaze that will protect your decorative carved candle by keeping everything in place. Just open the settings box and type G53G00G90Z0G53G90X0Y0 in the safe positions command box. Place a pan of hot water onto the stove then add the instrument if it is metal.
Press it and your machine will stop the spindle and any axis movements. Sharp Instrument Choose an instrument to carve the wax. You cannot put candle wax.
Wax Melting Instructions Focus on Safety While melting wax may seem relatively straight-forward it is perhaps one of the most dangerous aspects of candle making. You can now press this button and your machine will travel to its home position. Its best to cool the candle rapidly by dipping it into a vat of water that is at room temperature.

Christmas Gifts For Her Gifts For Wife Carved Candles Gifts For Mother Shop Unique Home Decor Christmas Gifts F Pink Candles Candles Crafts Candle Carving

Pin On Boho Brides

Candle Carving Is A Thing And It S Incredible Make Candle Carving Laser Engraved Ideas Carving Designs

Hand Carved Wedding Unity Candles Victorian Kerzen

Carved Candle Gold Rose Navy 8 Inch Etsy Candle Carving Handmade Candles Candles

Home Bloom Velas Talladas Hacer Velas Velas Decoradas

Christmas Is Closer Carved Candles By Fairy Candles Hand Carved Candles Fairy Candles Homemade Candles

Pin On Things I Like
404 Not Found Tiki Candles Candle Carving Candle Decor

Pin On Fashion Forward

Artistic Designer Candle Holder With Candles For Valentines Day Valentine Candles Hand Carved Candles Floating Candle Centerpieces Diy

Mother S Day Carved Candle With Angel Perfect Interior Etsy Candle Carving Festive Table Setting Candle Gift

Pin By Tina Fernandez On Wedding Carved Candle Sunnycandle Candle Decor Candle Carving Candle Theme

