How To Prepare Wooden Cabinets For Painting
/cdn.vox-cdn.com/uploads/chorus_asset/file/19493303/cabinet_paint.jpg)
How To Paint Kitchen Cabinets In 9 Steps This Old House
/cdn.vox-cdn.com/uploads/chorus_asset/file/21817665/iStock_1152705690.jpg)
How To Paint Kitchen Cabinets Without Sanding This Old House
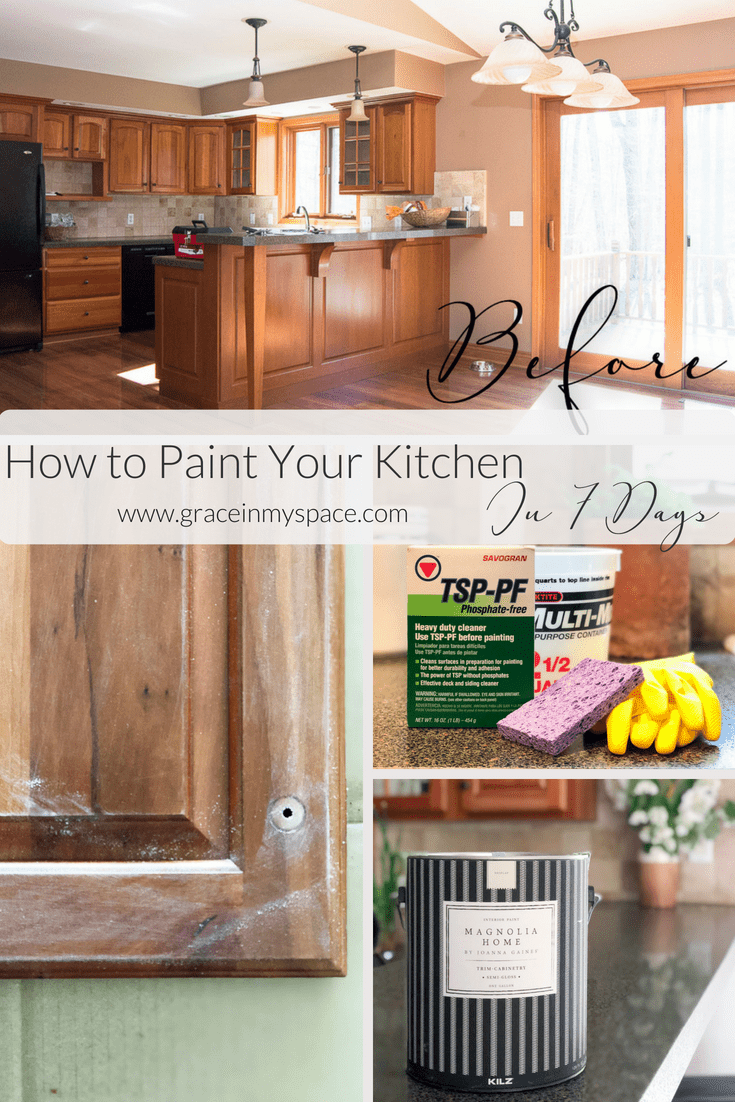
Paint Your Kitchen Cabinets In 7 Days Paint Steps Grace In My Space
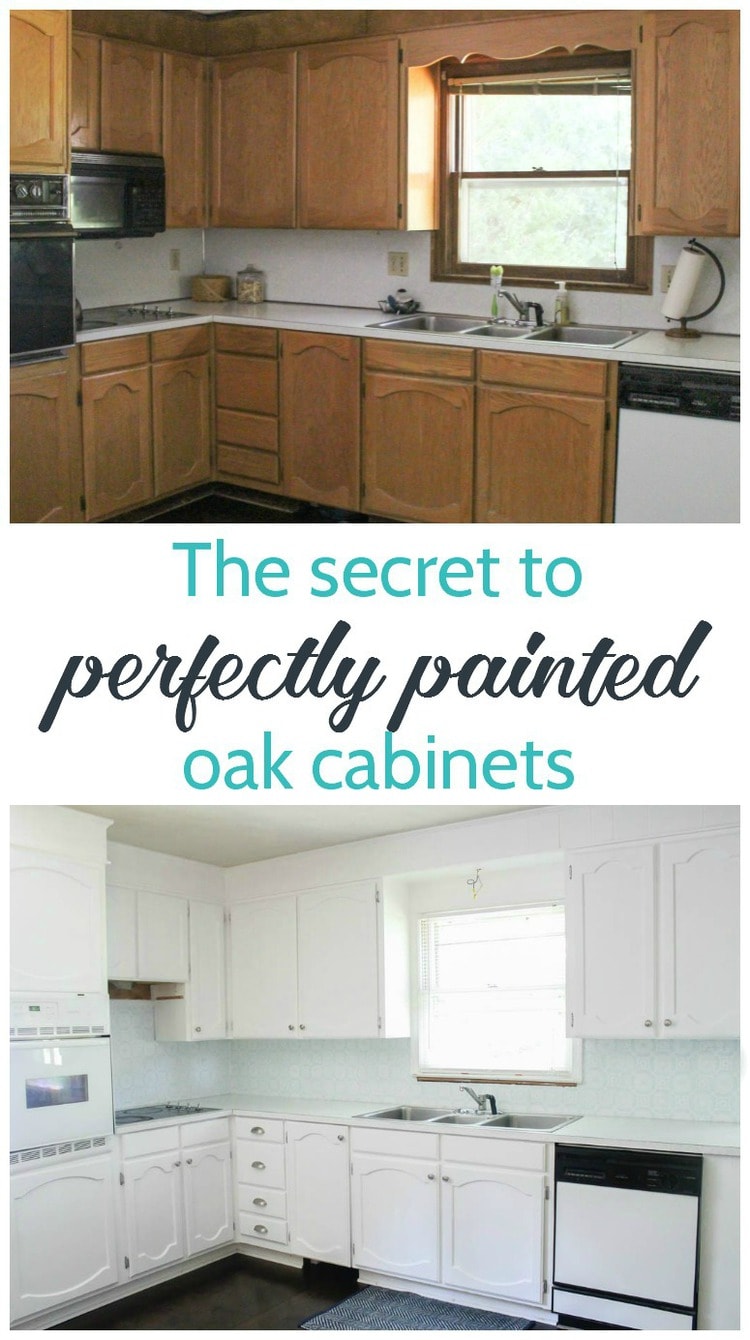
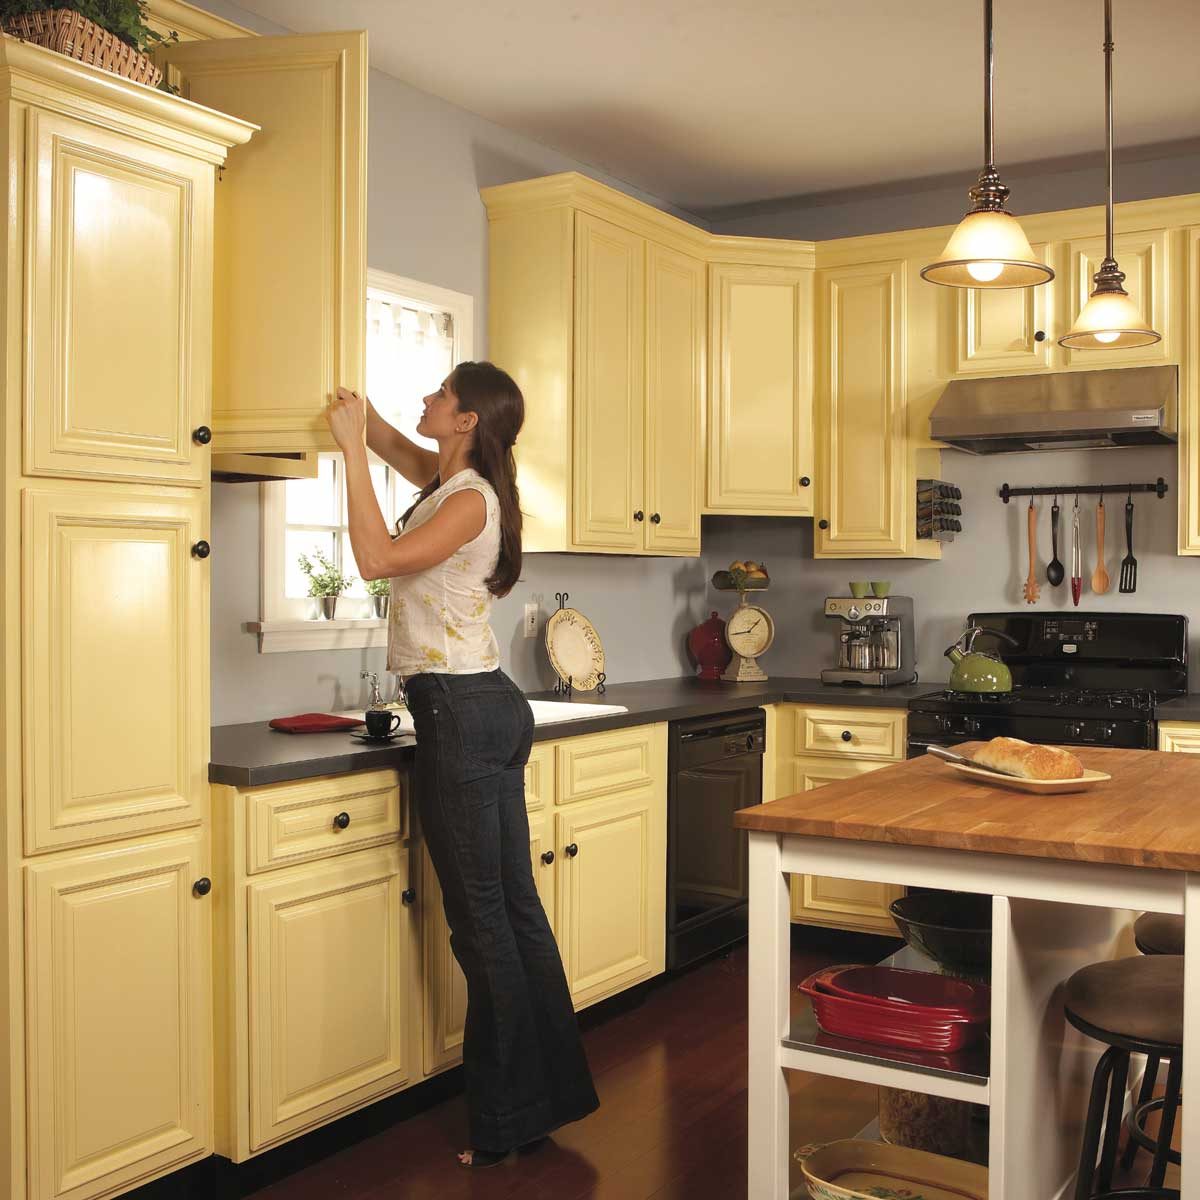
Painting Oak Cabinets White An Amazing Transformation Lovely Etc
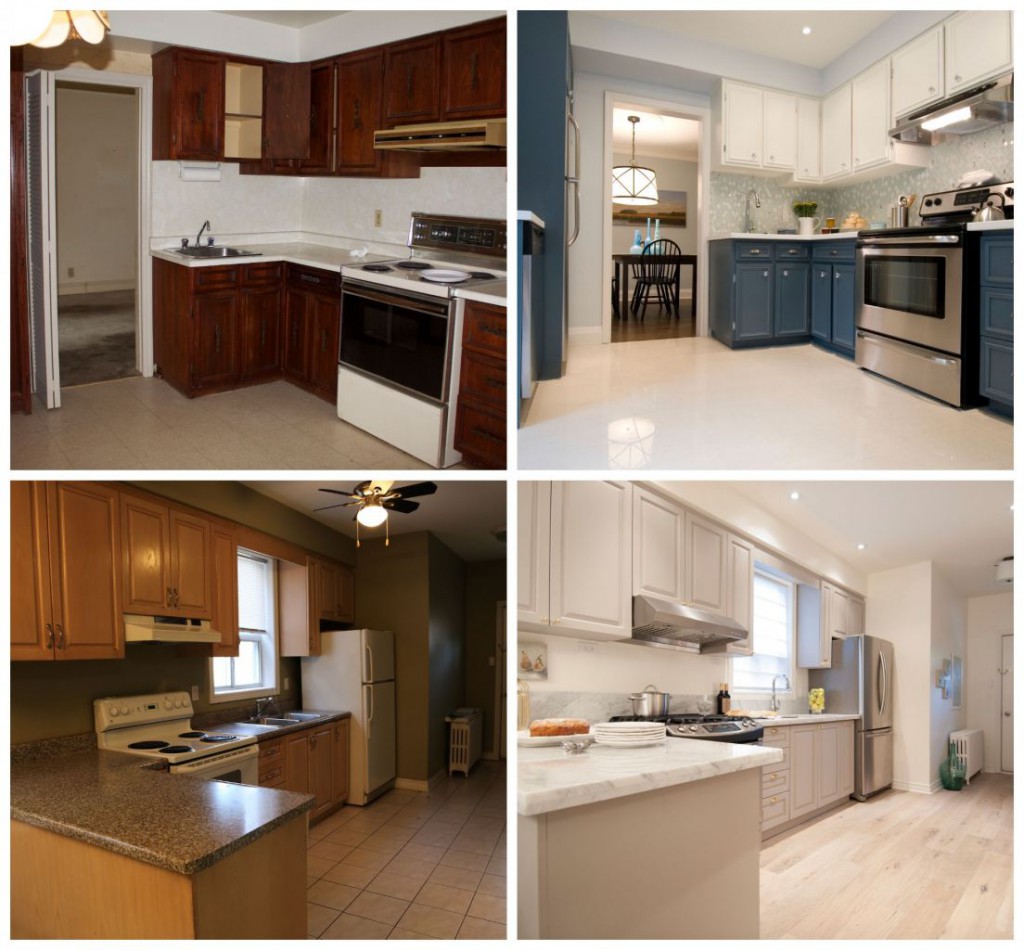
/cdn.vox-cdn.com/uploads/chorus_asset/file/19637441/kitchen_cabinets_promo.jpg)
How To Paint Kitchen Cabinets In 9 Steps This Old House
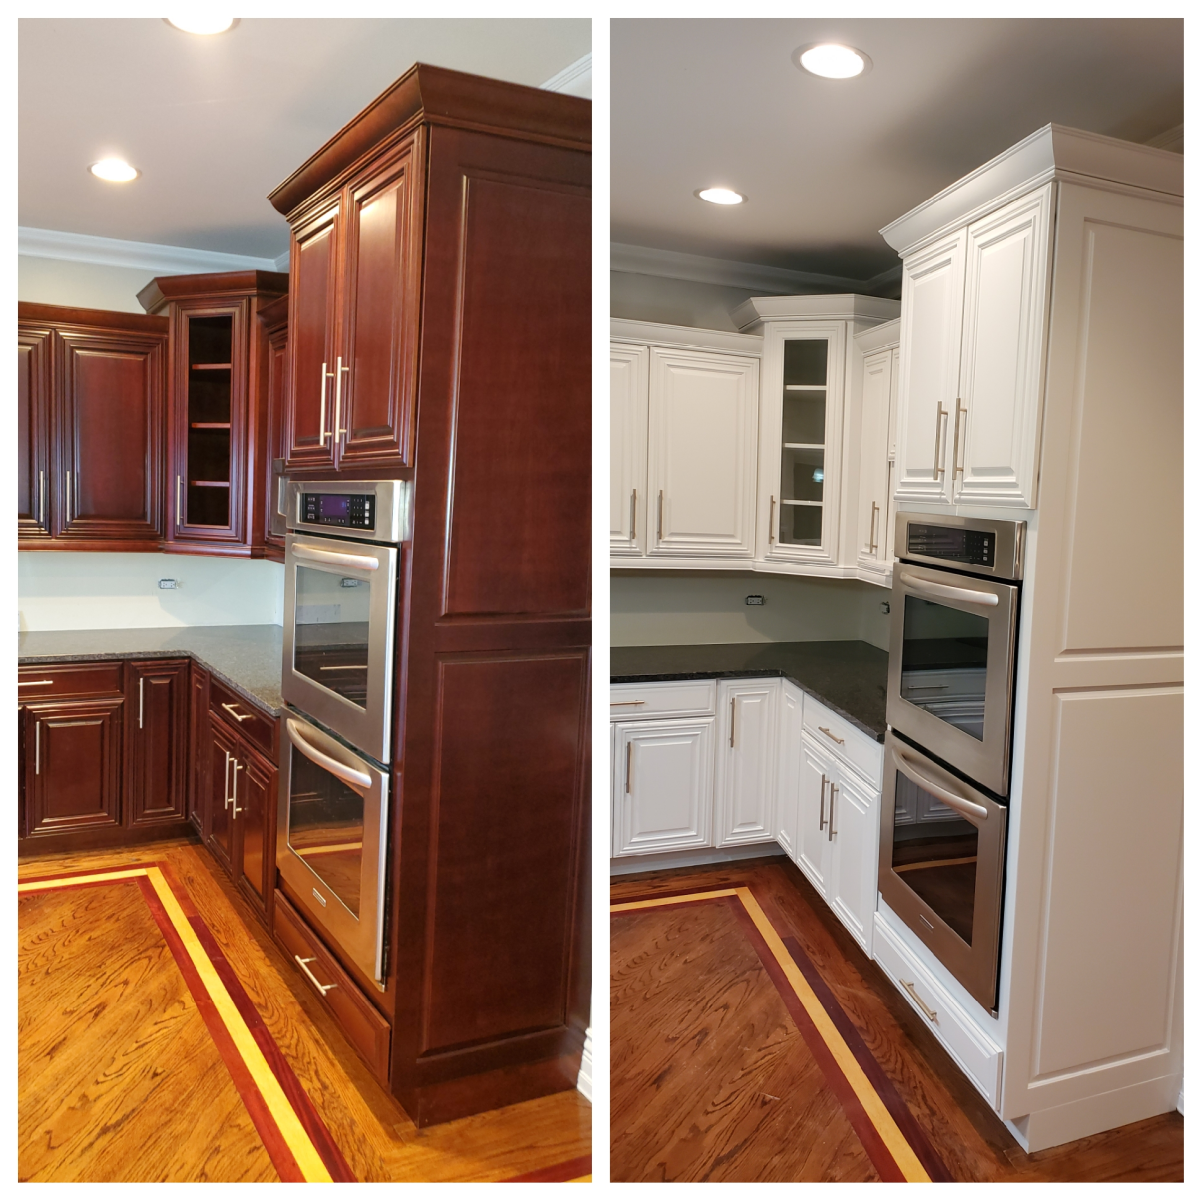
Tips For Painting Cherry Cabinets White Dengarden

To prepare your space use masking tape to protect hinges or glass and put down dust sheets to cover the floor.
How to prepare wooden cabinets for painting. However if you are working with a surface that already has a finish paint stain clear coat etc on it you will need to sand the surface to scuff it up a little. Vinegar will not only sanitize the surfaces but will also remove the layer of dust remaining after the sanding process. Although this is probably the least fun part of painting kitchen cabinets it might be the most important.
Sand the surface of the wood. It took me several nap-times to finish cleaning the cabinets but Im glad I put in the effort. Now that your floors are covered doors and drawers are removed and the insides of your cabinet boxes and drawers are prepped off the next step in getting your cabinet ready for painting is cleaning and sanding.
Getting Ready For Paint Cleaning and Sanding. In this example Im using a small red oak scrap block that is unfinished. Make sure your paint is acrylic not vinyl.
The best way to clean kitchen cabinets and get them ready for painting is to clean them really thoroughly with a good quality degreaser. Wood cabinets are ideal for painting but any surface that can be scuffed with sandpaper can be painted. If your surface is unfinished as well move to step 2.
After scrubbing rinse the cabinet parts thoroughly and let them dry completely before you start painting them. The first paint-prep step after cleaning grease from cabinets is usually filling unwanted holes dents and dings with spackling or wood filler. I also scrubbed the cabinet frames with the Krud Kutter.
For larger surfaces you can use a paint stripper. Scotch-Brite pads and a little bit of elbow grease goes a long way. After sanding getting rid of dust and priming the cabinets its a good idea to check everything with a bright.
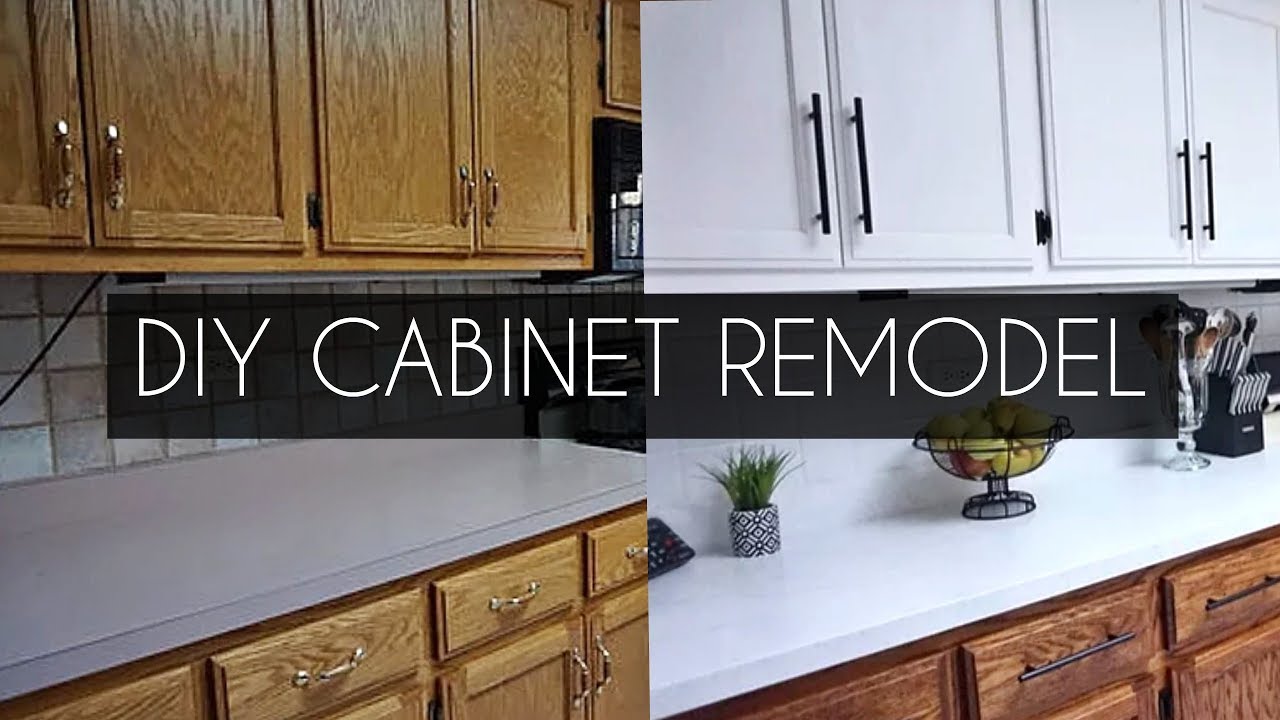
Diy How To Paint Cabinets Without Sanding Vlog Youtube
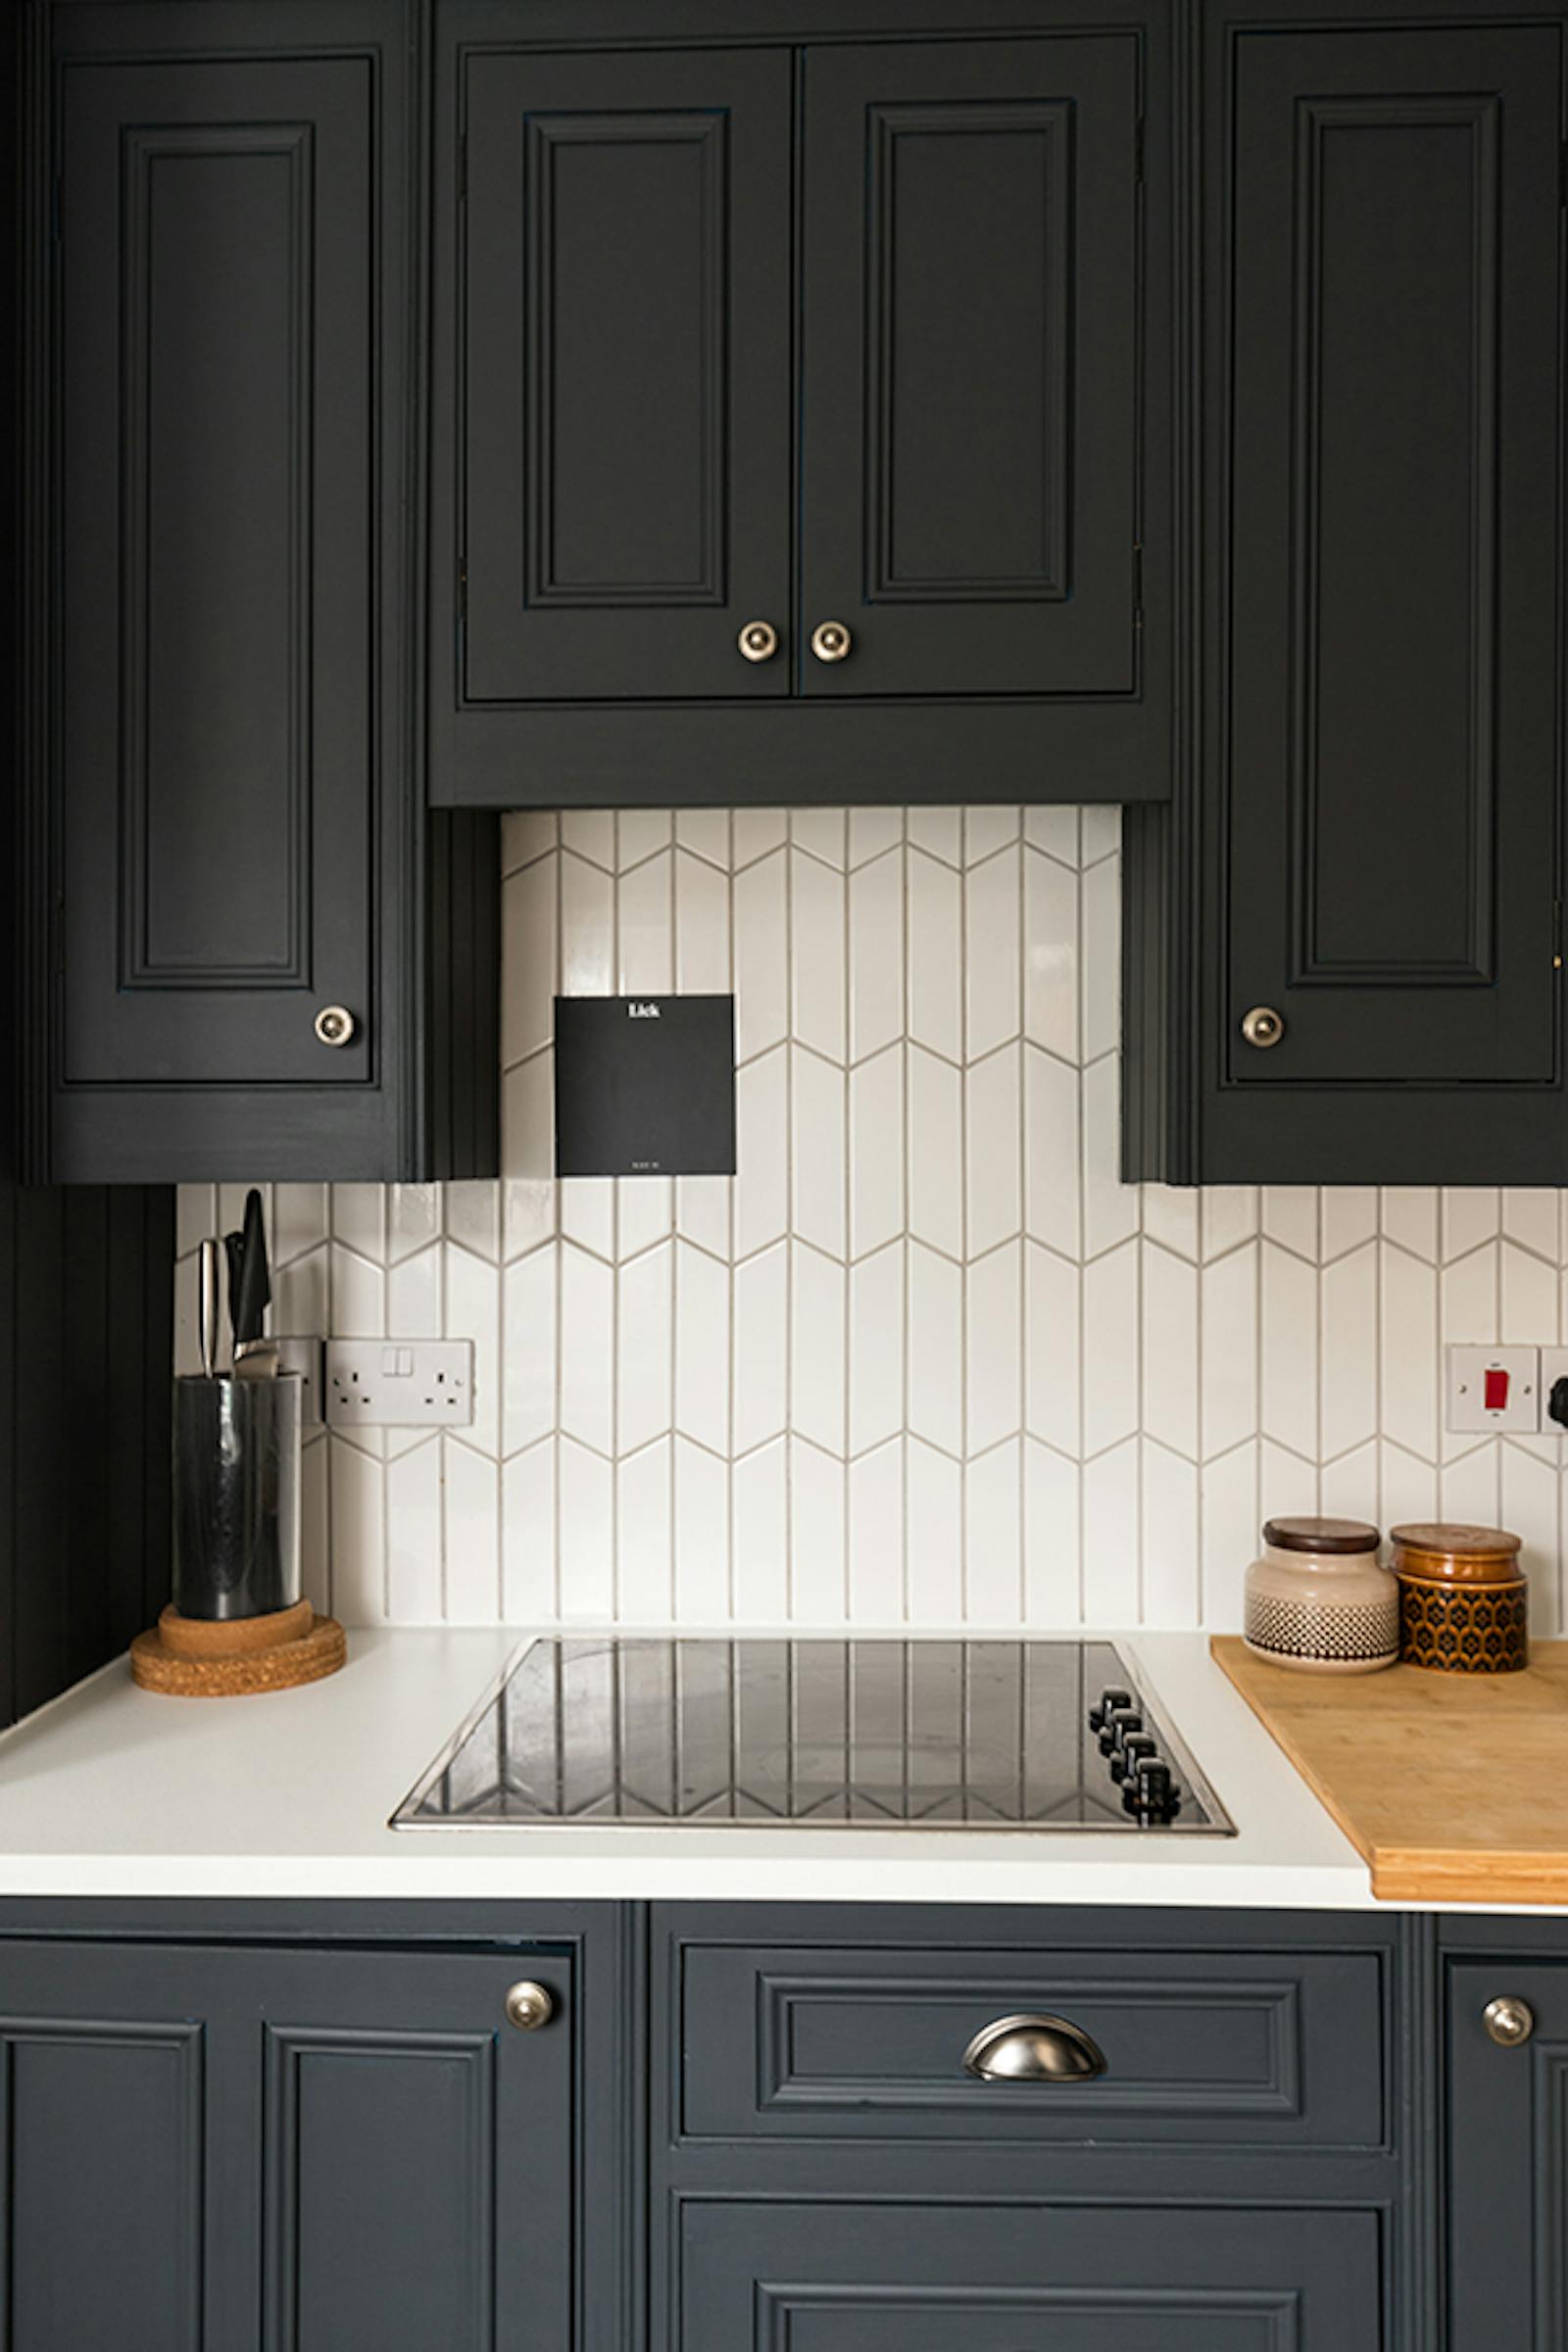
How To Paint Furniture Wood Metal More Lick

Can You Paint Laminate Kitchen Cabinets The Picky Painters Berea Oh
How To Spray Paint Kitchen Cabinets Diy Family Handyman

Painting Cabinets With Fusion Mineral Paint Beautifully Reimagined

Paint Your Kitchen Cabinets In 7 Days Prep Steps 1 3 Grace In My Space
How To Paint Kitchen Cabinets The Home Depot Youtube
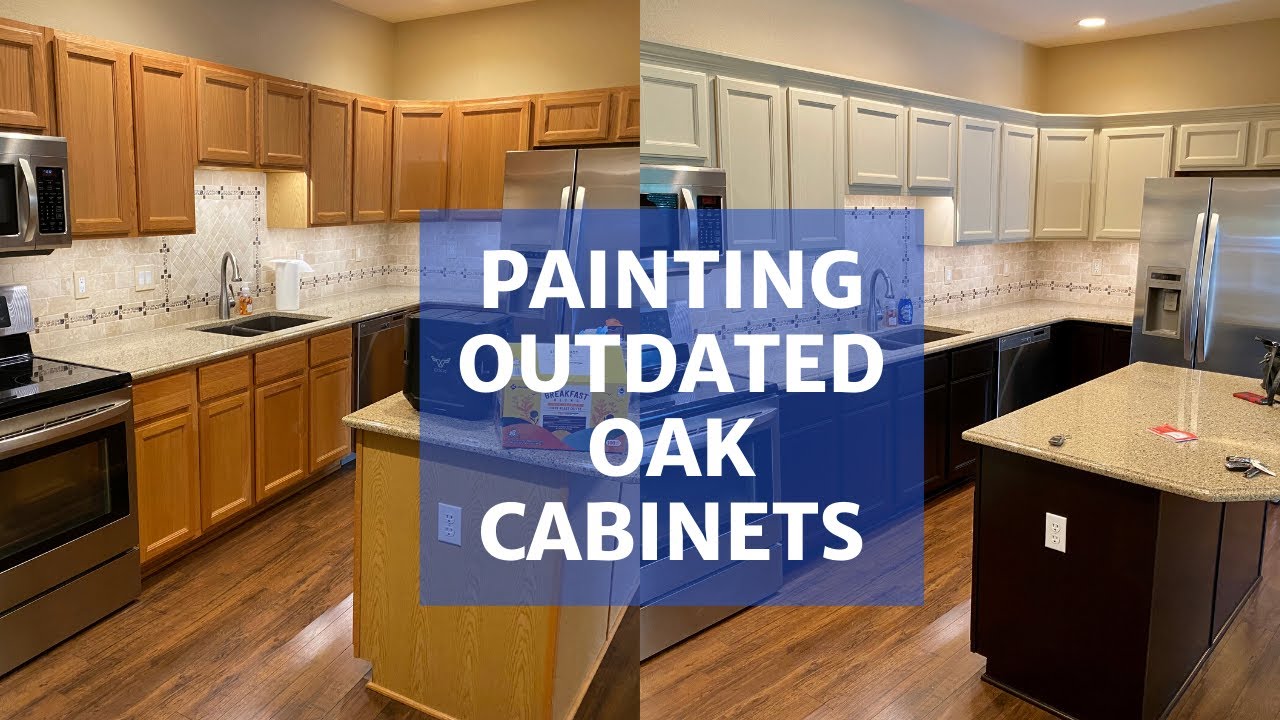
Painting Oak Cabinets Transform Your Kitchen Youtube

Grey White Painted Kitchen Reveal House Featured Kitchens Featuring Gray Kitchen Cabinets Traditio Gray And White Kitchen White Kitchen Makeover Kitchen Design
Beginner S Guide To Kitchen Cabinet Painting

How To Hand Paint Wooden Kitchen Cupboards Impressions Ie Painting And Decorating In South Dublin
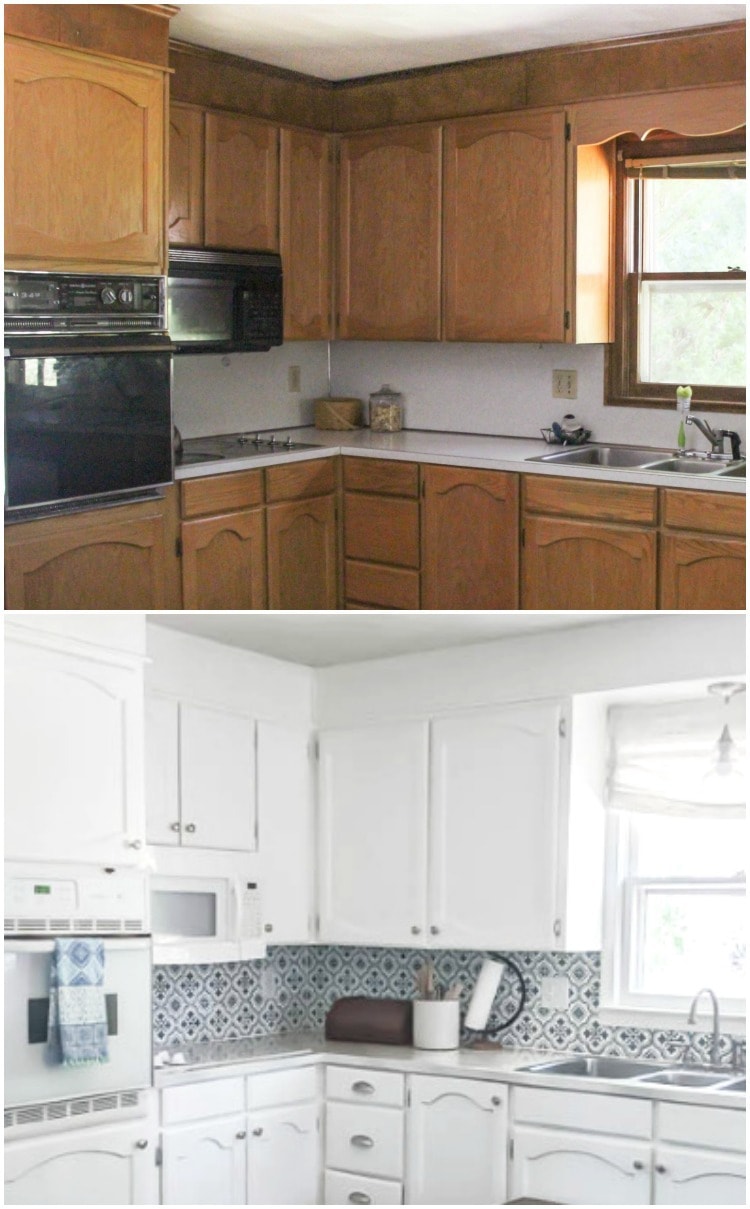
Painting Oak Cabinets White An Amazing Transformation Lovely Etc
Painting Cabinets How The Pros Do It Paper Moon Painting